Ever have one of those days where you take so many pictures they need their own album? Yep, I thought so. For me, it was a trip to Shedd Aquarium with my girls.
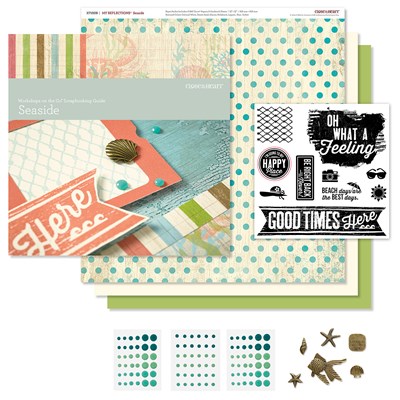
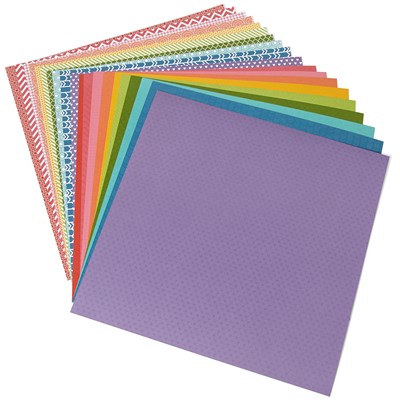
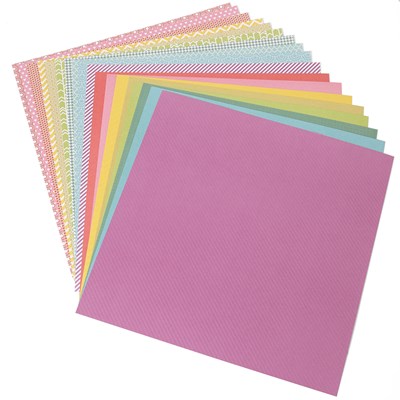
I don't normally buy the "beachy" theme supplies because we don't get to a beach much, but I thought the Seaside products from Close To My Heart would be perfect for this album. I didn't want to overbuy and have leftovers, so I only bought the Workshop on the Go kit plus the Seaside Complements, and combined them with regular cardstock, Paper Fundamentals, and general accessories & stamps. I also used several Cricut cartridges.
Today I want to share my title page and end page with you. I'll share more pages over the next week or so, so be sure to come back and check them out too!
I actually made the title and end pages last, but wanted to share them first because there are some really good tips here for using up those leftover bits of everything.
First of all, use those biggest scraps for a focal area for your picture. Skinnier bits are perfect for banners, strips, and circles. If you have enough of something left, you can cut a fab title with the Cricut (I used the font from Artfully Sent). Otherwise, you can always stamp a title directly on your page base.
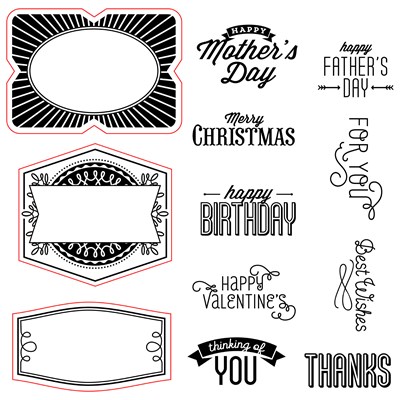
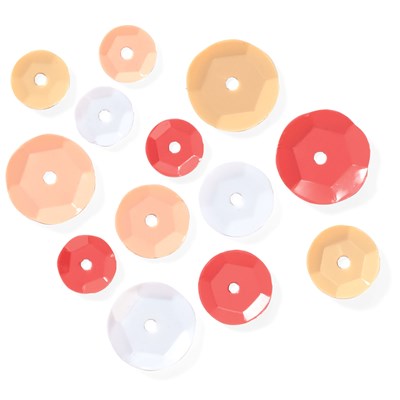
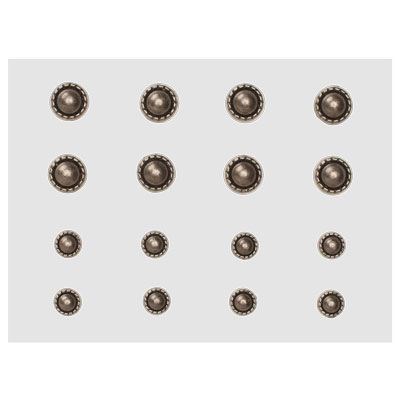
To embellish, I used an assortment of items. Here I used Cricut cuts from Artistry, combining some with stamps that come with the cartridge as well as this month's Stamp of the Month. I also sprinkled Sequins and Aqua Dots throughout the album.
Some of the images, including this one stamped with the Seaside WOTG stamp set, are popped up on 3-D Foam Tape for added dimension.
Here's another option for leftover strips. Just line them up like soldiers and add a top & bottom border to make it look finished.
This title sticker from the Complements was perfect for my final picture. Whatever option you use for a title on this type of layout, you want to put it on a solid "plaque" shape like this. It helps to ground the title on the various patterns of the strips.
A second solid shape is good for journaling if you have it, or in my case a secondary title. Add a scattering of embellishments for fun and continuity with the rest of the book.
That's all I have to share with you today. Hope I gave you a few ideas for your own leftovers! Here's a list of items I used for the entire album - links open in a new window:
 |
| Coral Shimmer Trim - backorder until 8/21 |
|


No comments:
Post a Comment
Thank you for taking the time to comment! I appreciate them all, and invite you to become a Follower as well.